Showing posts with label kid's projects. Show all posts

Monday, August 13, 2012

WYLTC? Growth Charts


Hello!
We are happy to be able to pick this month's Wood You Like To Craft? theme, Growth Charts!  We have wanted to make growth charts for our kids for a long time.  They grow up so fast!


We were inspired by growth charts made by Petite Lemon and Ferm Living.
Our kids are animal lovers and these are perfect.
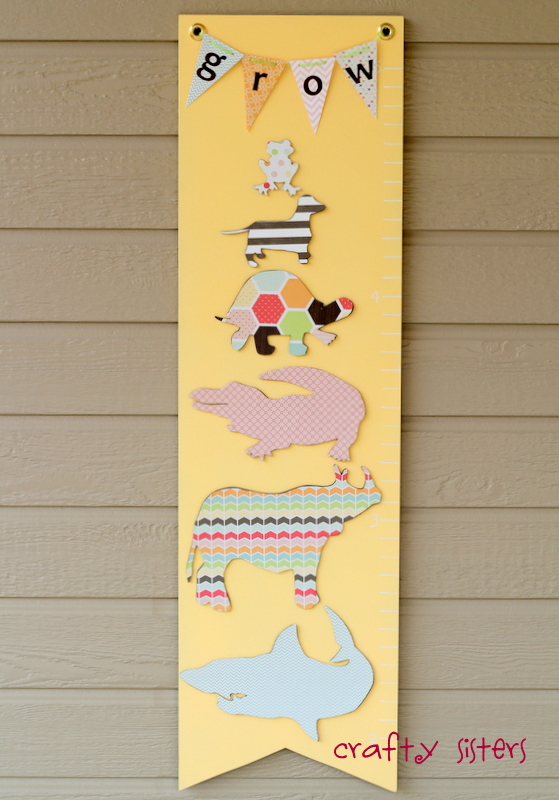
First we had Home Depot slice up a piece of 1/2 inch mdf, 12 inches wide and 42 inches long.
To create the pennant, we cut with a jigsaw a notch about 2 1/2 inches up from the bottom.
We also glued in grommets into drilled holes to create the official pennant look.


Nicole and her daughter picked what they thought would be my boys' favorite animals and cut the shapes out on 1/8 inch mdf.  They are so cute and the boys love them! We had fun naming all the creatures as we mod podged the papers on.

The majority of the paper we used is from the "Sweet Day" line by Echo Park.


We added a "grow" paper pennant to the top.  This would also be cute with your child's name, but since I have multiple boys, this will do.  We drew the numbers and lines on with a paint pen.


Nicole's daughter is a serious animal lover and especially fond of owls.  (They have owl boxes in their back yard and regularly spot visiting owls. )


Nicole cut and papered an adorable owl along with her daughter's name to go on her growth chart.
She used a cricut to cut the numbers and lines for the ruler along the side.   A vinyl ruler would also be a great option.
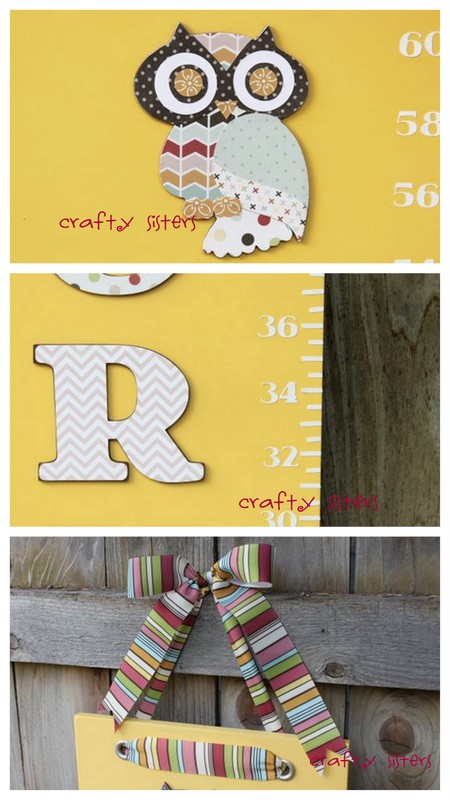
We are so happy with how they turned out and we especially love the smaller size.

Come on over this week to Wood You Like To Craft? to see what the other girls build!

Sunday, July 10, 2011

Kid Friendly Fun Food

Are you looking for some more fun ideas
to do with the kids this summer?
You don't want to miss this for sure!
Have fun creating "breakfast" and "lunch"
out of sweet ingredients!
We got this fabulous idea from our favorite Preschool Teacher Janice.
All of our kids have gone to her and now my little girl gets to attend
Little Miss Homemaker each summer with her.
She has the most wonderful and fun ideas
that I admit....I'm pretty jealous I didn't get to do something like that as a kid!
We gathered all the cousins and let them cook up a feast!

You'll need:
vanilla wafers
chocolate thin mint cookies
green food coloring
coconut
soft macaroons
vanilla sugar wafer cookies
yellow m&m's
pretzel sticks
yellow & red frosting (we just got the ready made in the tube kind which was really easy to use)
white chocolate chips
Color the coconut with a couple of drops of green food coloring
till it's a perfect lettuce hue.
Use the frosting to create your beautiful burger.
Next up are your fries!
Cut each wafer cookie in half lengthwise for your perfect fry and smother with a bit of "ketchup"!
For Breakfast you'll want to crumble up your macaroon to mimic the hash browns.
Lay out 4 pretzel sticks in a row and top with two dollops of melted white chocolate. Then just top them off with your yellow m&m's for perfect sunny side up eggs!
This was so much fun and the kids loved it!
The eggs just made me smile, they were almost too cute to eat.
Well, I said almost.....

Wednesday, June 29, 2011

Spray Tye Dye Towels

Who doesn't love tye dye?
We have kids that love to swim during the summer heat,
so of course we can never have enough beach towels!
 We thought we'd put the kids to work this time
and let them have some fun too!
We picked up some inexpensive white bath towels
and used some masking tape to create their names and desired designs.
The neighbor kids saw what we were up to and wanted to join in
so we were scrambling to find any white t-shirts in the house!
We mixed up the dyes and put them into spray bottles we picked up at Walmart.
Then we let the kids just spray away!
It was sooooo much fun!
We were surprised that the boys gave in and used Hot Pink!
It definitely showed up the best!
We hung them up to dry on the fence because they were so drenched....there was no way they were comin' in the house!
The masking tape really did the trick and kept the white white!
My hands....were these colors for about 3 days.....
My nails are still hot pink around the edges.  No, it's not a cool new manicure. :)
We are going to set the color by adding vinegar to the wash.  Haven't done that yet....
How do you set tye dye? We used TULIP brand kits found at Walmart.  Any setting tips sent our way would be greatly appreciated, we would hate to wash away their beautiful :) artwork.
Results were grins from ear to ear,
happy kids, happy moms, and there will surely be
no confusion over the owner of each towel. :)


Monday, June 27, 2011

Cheap Water Thrills....

Are you looking for some quick and easy
projects to keep the kids busy and cool this summer?
This one is a must do!
We knew when we saw this fun sprinkler project by Kelly over at Here Comes The Sun....
we had to do it.
For her full tutorial and supply list head over and check it out!


We made a few small adjustments to fit our needs.
First off we used 1" pipe. 
The price difference was just a few cents but it makes it a little stronger.
We also drilled holes instead of using misters.  In this case, the boys thought "more" was better.

We also glued everything  (like Kelly) and
it was a fun learning experience for Candace's boys
who were more than eager to help.
We have so many fun memories of putting sprinklers together with our Dad,
 the smell of the glue was a sweet reminder.
Who knew this would be a quick lesson in plumbing 101?
The glue and primer come together in a cute little kit!
The boys love Legos, so putting this together was fun!
Everyone wanted to help even the baby.....who thought it was fun to hide some of the parts....
We found them in the back hatch of his Fisher Price tricycle, along with the missing bag of grapes.
We drilled holes every 2"
along the top and then drilled 4 holes down each side.
Another great tip was to make sure to use a metal hose adapter. 
If you are connecting and disconnecting the hose multiple times, it will strip out the plastic PVC,
so the metal adapter insures a longer life span. (The Home Depot guy easily convinced us!:))
Of course we needed some color so the kids spray painted their sprinklers!
After drying for about an hour they were ready and so were the kids!
They had a blast running and riding their bikes through.
I think the adults had just about as much fun watching them!
It was hilarious!
We figured we made each sprinkler for about $11.
Yup, not bad?
We have been scrambling for ideas to keep our kids busy. 
 Come take a peek this week to see what we have been up to!

Friday, June 24, 2011

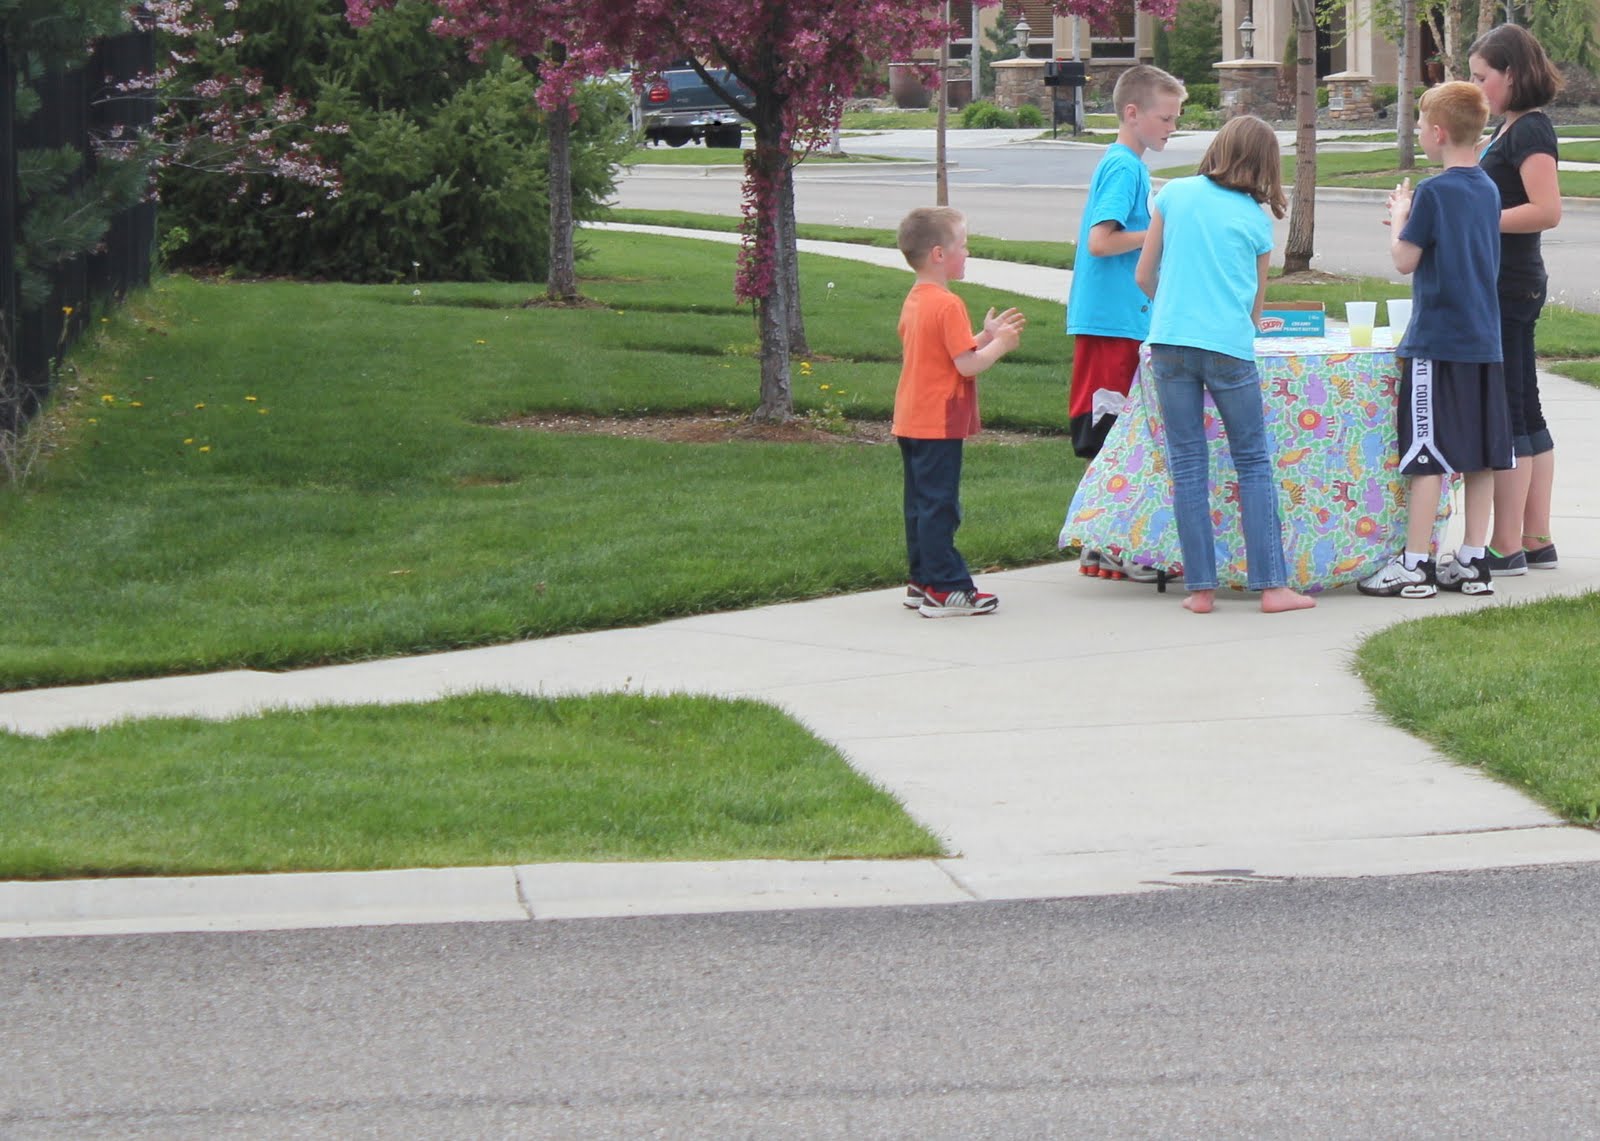
Get Your Lemonade!

Yesterday Candace and I caved
in on the incessant pleas for a lemonade stand...
 A couple of weeks ago Candace's boys actually had
Lemonade Wars, with competitive stands set up across the street from each other.
All the neighborhood kids rallied around to help them succeed. {maybe just one of them}

Don't worry, some adults eventually felt sorry for him and bought lemonade.  He did fairly well too!

Unfortunately this set the bar high for the hopes of my little girl. :)
Don't they look sweet?
We even had Strawberry Lemonade.
They worked so well together.....
for the first 1/2 hour or so.....
and then.....
We had a hard time figuring out where all the lemonade and glasses were disappearing to?
They are already planning their next lemonade stand adventures
and how to do it better.
We'll chalk it up to teaching them how to work. :)

Stay tuned for some other fun kid ideas we have to share!

Sunday, February 13, 2011

Last Minute Valentines


My little girl's Valentine party at school was Friday,
and as Room Mom I got to help plan their party.
I have to admit it has been a total guilty pleasure for me
because I have absolutely grown to love
all those sweet kids in her class!
So I made little cherry cheesecake cupcakes
and my favorite Hershey Kiss Peanut Butter cookies,
but what went over the best were these fun Bingo cards I put together
totally last moment.
Really, I was picking them up from Staples where I got them laminated
just 10 minutes before the party started.

I've seen tons of great ideas for Bingo...two of my favorites are over at Eighteen 25 and The Idea Room!
I was ready to print them out and her teacher emailed me all the kid's pictures to use
the day before the party and I just had to use them!
(I didn't post a picture of them because I don't have permission
to show off all those cute kiddos!)
After spending too many hours trying to download, upload and all that
onto some other online bingo card makers,
I found the simplest way was to just collage them
using my favorite freebie program Picasa!
They were super easy and a fun memento for each of the kids to take home.
If you don't have enough pictures to fill the spaces, you can do what I did
and find a fun picture of the school mascot.
It worked out great and the kids loved it!

Here's one I did up for our family to play tomorrow night for family night!
We didn't make squirrel Valentines either...yes, shocker....
and we don't have 4 cats, 2 have met their maker
but we needed the numbers for bingo purposes!:)
You have to improvise when you only have 1 kid.
and took it and ran with it.
I cut out everything on my cricut and we glued as fast as we could!
My little girl thought it was so fun!

Pheeewwwww!
Now I get to actually enjoy this holiday knowing all the hard work is done!
My hubby has made his famous Valentine's Day Lasagna
that he makes every year for me.
Just knowing that I don't have to cook
makes me feel loved!
Happy Valentine's Day!

Thursday, October 28, 2010

Recipe for GAK or Slime

We have been getting ready for Halloween around here! I was (crazy) enough to volunteer for my son's 4th grade Halloween craft in his class tomorrow. My son has hit the..."I'm too cool to make kiddy crafts" phase. So, I had to get creative.  I volunteered to help them make slime.

This is a great recipe! My friend Amy, a 3rd grade teacher, directed me towards this recipe for Gak.  She makes this concoction every year.
It's from Steve Spangler Science, recipe for GAK
(Check their site out for full directions.)
You will need:
Borax (1 tsp mixed with 1/2 c. water)
8 oz.Elmer's Glue
Water (fill empty glue bottle with warm water and shake)
Green food Coloring ( couple drops)
Mix glue and warm water. 
Add in combined Borax and Water,
Mix away until you get the right consistency!
Seal in a plastic Ziploc when you're done playing!
Lovely! :)

You can add some bugs too...if you like!  

Now...I need to go make several dozen bat, ghost, and pumpkin sugar cookies!
My other son is in need of Halloween treats for his class.
See you soon!
Related Posts Plugin for WordPress, Blogger...