


I started playing around with plaster last week, and I totally blame it on the dogs.

I was in Marshalls with my 4 year old son and we discovered these "Cast & Paint" dogs in the toy clearance. I have not used plaster before but we had so much fun pouring the molds and then painting.
The kit came with a strip of magnet to make the dogs into magnets.
A couple of days later I found myself bringing home a gigantic box of Art Plaster! I started filling some of the leftover heart lollipop molds and a couple of candy molds from our mom. I also went looking for the silicone heart molds but didn't have any luck finding any for cheap. I started experimenting with some cookie cutters and found that if you have the right consistency, you can pour it into just about anything as long as you can push it out after it has set.

I used a stain glass cookie cutter to make these glittery cookies.

The easiest way to pour and mix plaster is with a Ziploc bag. Mix the plaster until you get the consistency of pancake batter. Cut the end off, and pour away!


In this picture I backed the cookie cutters with plastic lids.
I found these little hearts that snap in two and drilled a hole to fill with plaster.
It would have been much easier with the silicone trays, but hey...I "improvised"! :)

After the plaster sets, it is not fully dry and you can carve it. This helps if you have made any mistakes when you poured. If you want to hang any of your creations, add a wire loop before it sets.
To dry the plaster quickly, you can microwave on the lowest setting for 30 seconds at a time.
(Just don't put the heart with the METAL wire in the microwave) ;)

I gave them all a light sanding to smooth out imperfection when they were fully dry.

I used Liquid Nails heavy duty adhesive to glue the cookies together...I know, what!? You mean, none of you have glass glittered with Liquid Nails before? :) The consistency of the glue was perfect to stick them together like frosting, and the glitter actually stuck! So, they're TOXIC cookies...full of Liquid Nails and Glass Glitter, but they sure do look cute! :) This might not be a project for the kiddos. I know Melinda over at Under My Polka Dot Umbrella made some wood cookies and used spackling as the frosting. I think glitter glue might work too?

I touched up the edges with regular glue and added more glass glitter from Meyer Imports.
LOVE that stuff!
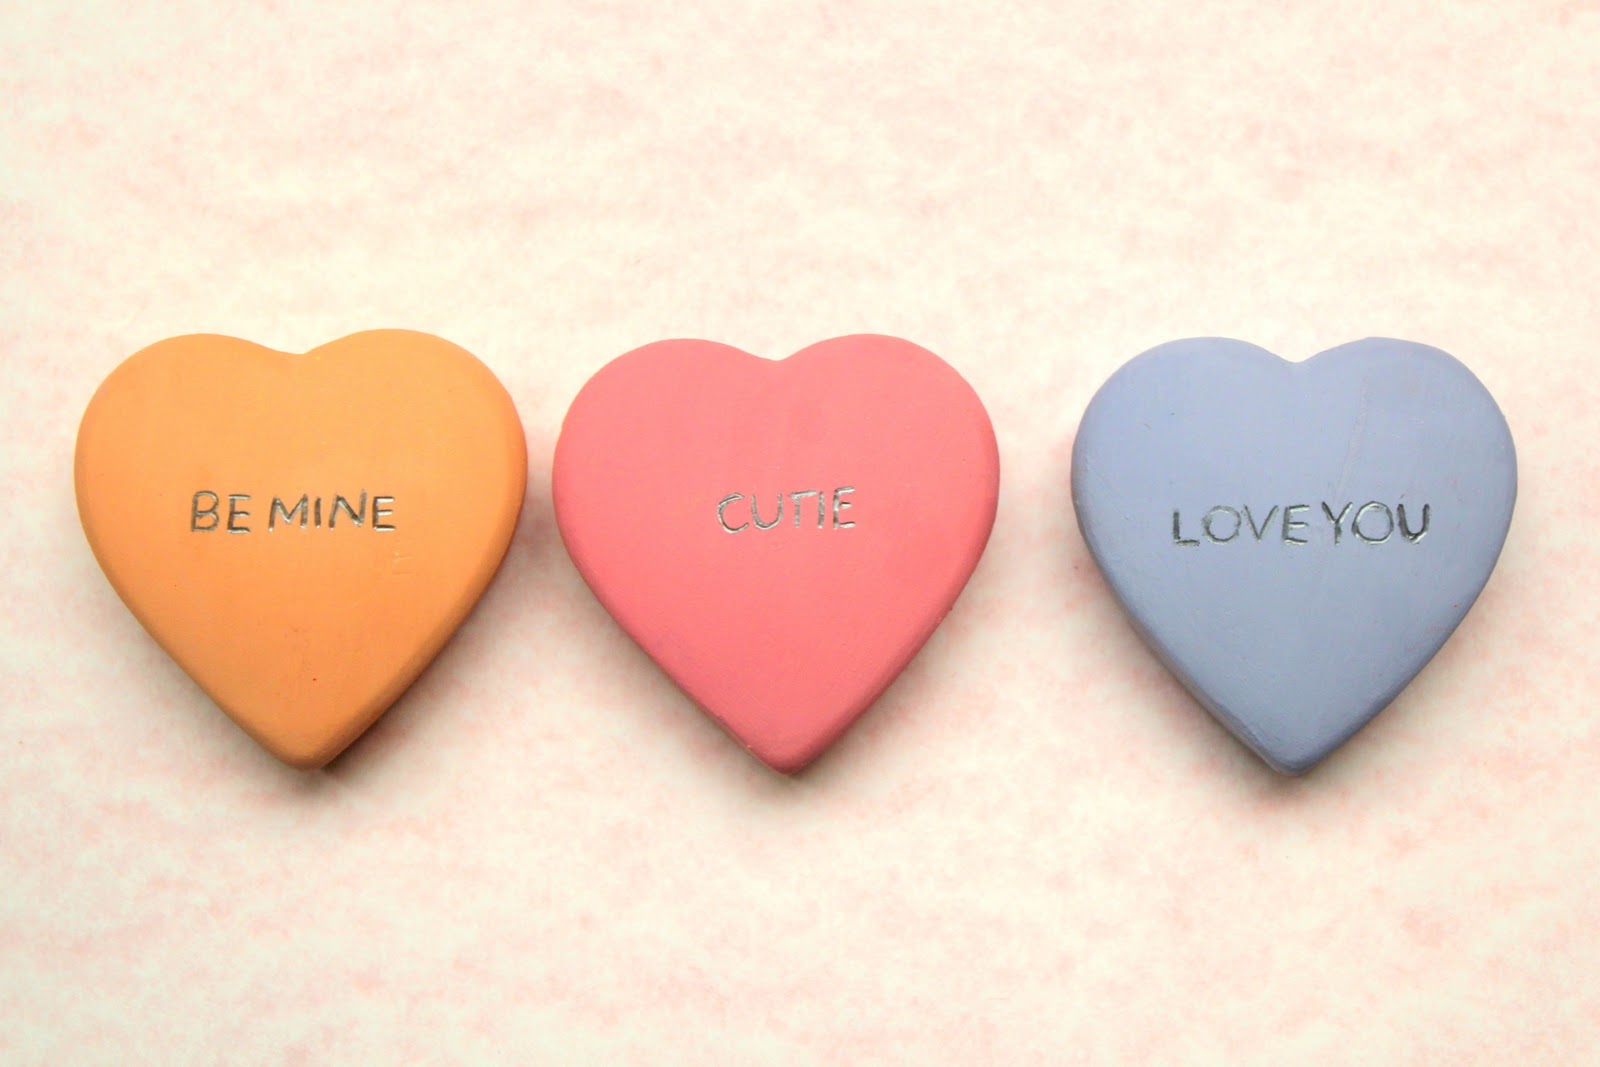
Here are the hearts from the "improvised" candy molds. Little tiny sweetheart candies!

I had so many hearts that I had to figure out something fun to make with them. No surprise...I made them into magnets, using the leftover magnet strip that came with the plaster dog kit. I thought they would be cute painted and strung together into a heart pennant banner.

How about you? Have any of you played with or created something fantastic with plaster?
Plaster is a fun project to involve your kids in, they really enjoyed it!
(Just keep the Liquid Nails away from them!) :)

4 comments:
How fun...I love your creations! I will have to get my plaster out and play.
I happen to have a silicone heart ice cube tray, is that what you are talking about? Love....
P.S. I forgot to invite you to my blog and sign up for my giveaway...here!
http://meli-melo-art.blogspot.com/2011/02/vintage-fun-giveaway.html
Yes Roseanna, the silicone heart ICE cube tray is what I am talking about! They were in the dollar section at Target for cheap. The trays would be perfect for plaster. Thanks!
This is awesome!! And they never get stale!!
gave you a stylish blogger award - check it out -
http://0bella-rose0.blogspot.com/2011/02/spinning-circles.html
Post a Comment
Note: Only a member of this blog may post a comment.