Sunday, May 30, 2010

Busy, Busy, Busy!


Wow!  It's been over a week since our last post.  This time of year is crazy busy! End of school year stuff, weddings, family, yard work, Memorial Day and our dad had unexpected, and extensive back surgery.  Nicole has been a lifesaver helping our parents around the house while our dad recovers, she even climbed a ladder to clean dead birds out of their attic crawl space! Me?  I will bring treats! I can cook....I can't clean dead birds. :) Nicole definitely deserves the daughter of the year award!  
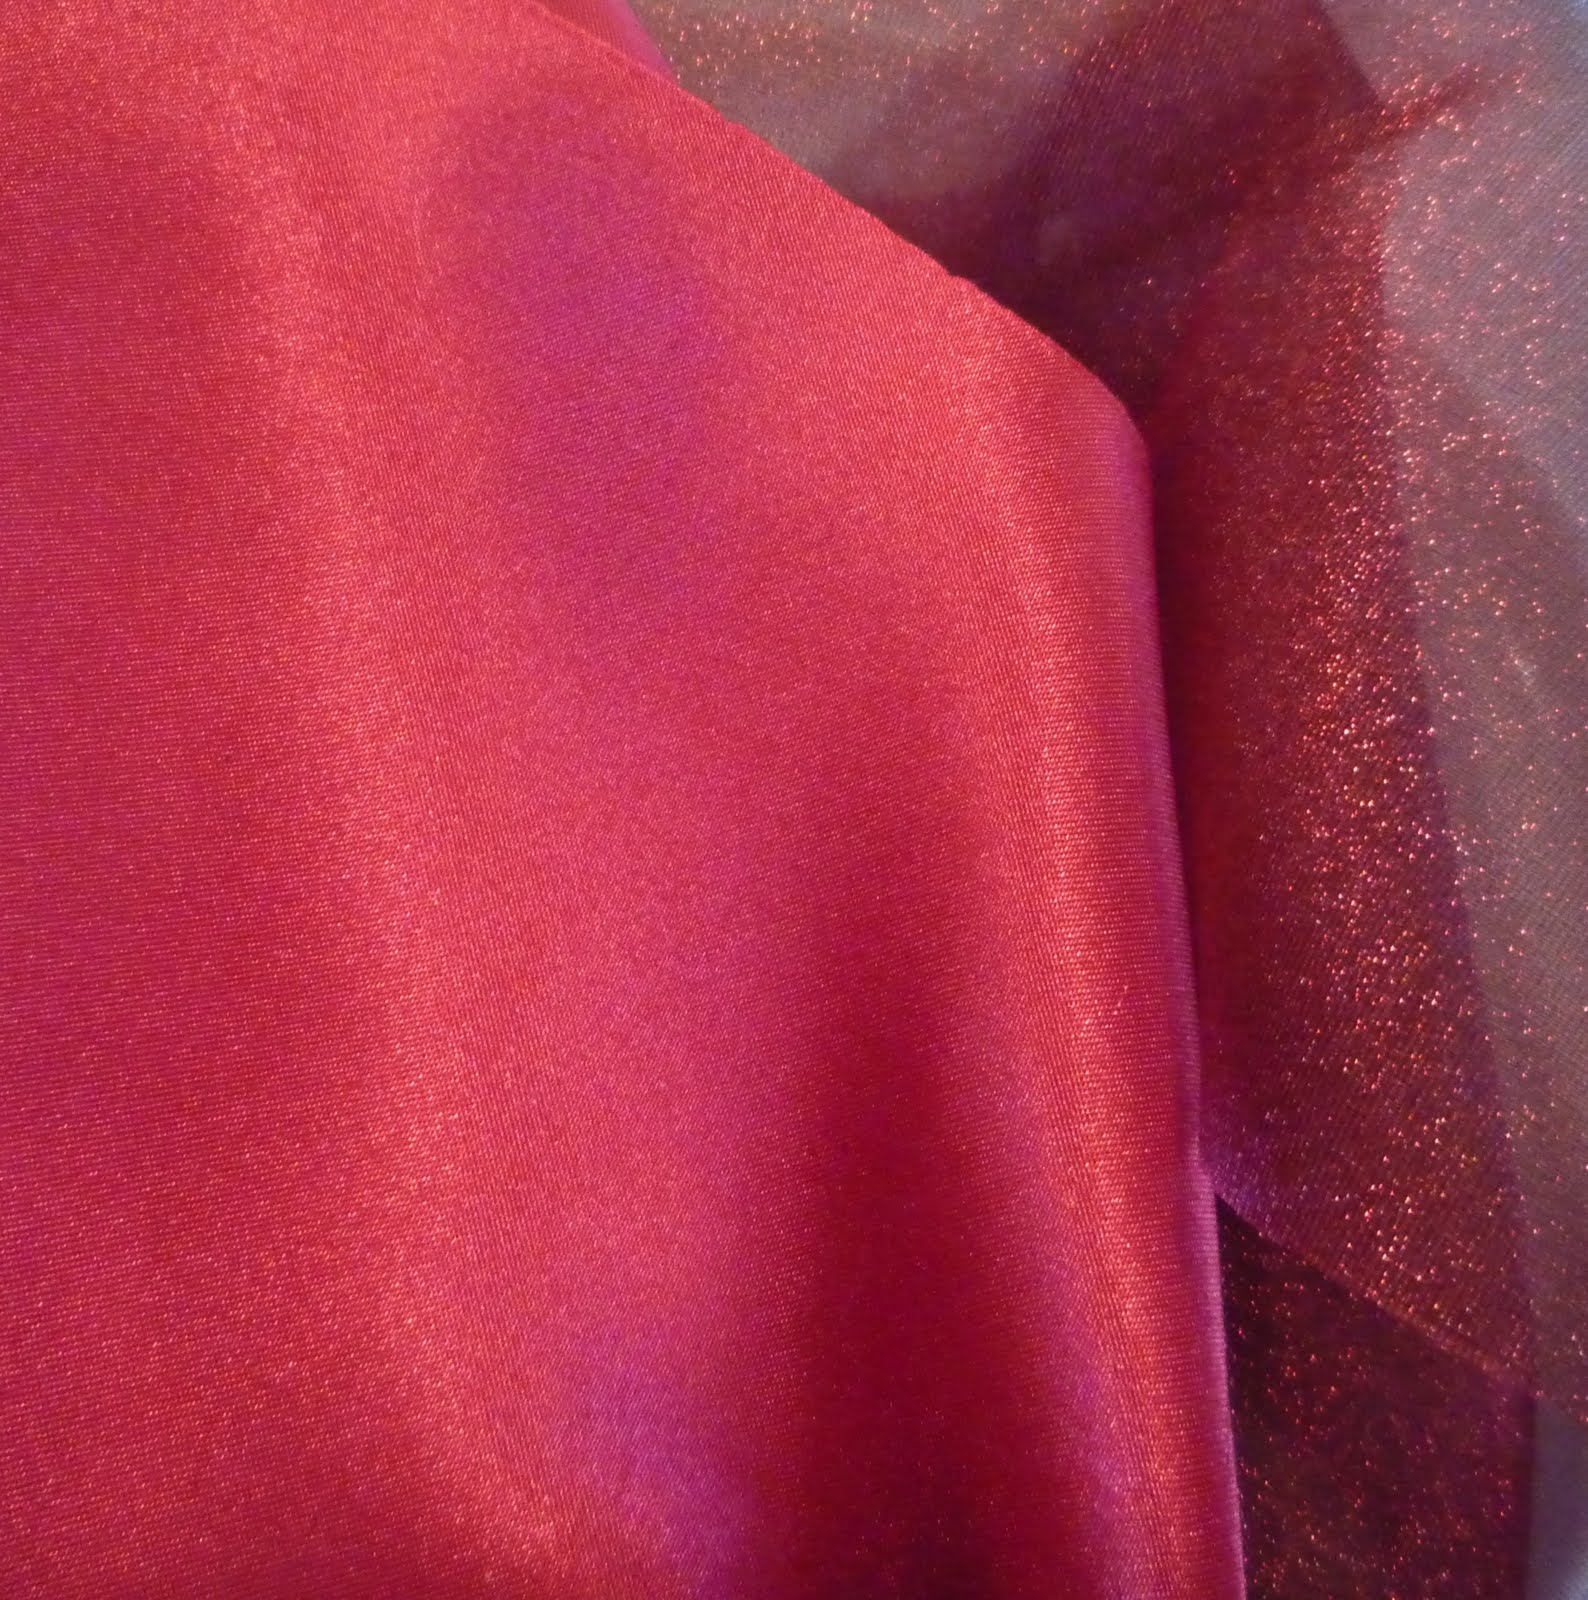
Yesterday was my sister-in-law's wedding. I have been hunting the stores trying to outfit four little boys. Her wedding colors were red, cream and black.  I found red ties for the boys and hubby, but needed an extra touch of red for me. 

( on our way to the wedding :) )

Thanks to blogging I was able to recall the kazillion singed flowers I've seen made. No matter how busy we are, somehow crafting sneaks into everything we do! 
  A few months ago we made a spring pillow, we tried Regan's tutorial- from A Day In The Life.  Her tutorial was great and her flowers are so pretty!  I did google organza and chiffon flowers and found the most wonderful site.  Her blog is called Calamity Kim.  I have gone back a couple of times just to stare at her colorful flowers.  You should check them out.
 These are so fun to make. I had great intentions of making the beautiful pearl and organza flower necklace I have seen on blogs, but it didn't quite look right on me. So, I hot glued a pin for clothing on the back and passed out the extras to the other family members.  We showed my niece how to make singed flowers about a month ago and she has gone to town making them. (I LOVE THAT!) She made flowers pins and hair accessories for everyone and some of the cousins in the family. It made my heart happy seeing all the red flower accents on everyone. Too cute!
I used a mix of chiffon and organza.
I singed the edges.  I usually just stick them over the flame and let the entire piece curl and crinkle up.  This time I gently held the edge to the side to the flame so the petal lays flat. 


I sewed on a freshwater pearl in the center.

On some I added a few beads to give it a little sparkle. 
Nothing new, but they are so fun to make.

Hopefully our lives will slow down a bit and we'll be back to share more projects with you.  I'm hosting the Memorial Day party at my house tomorrow, so I'm heading off to make some yummy food.

Have a wonderful Memorial Day!! 

Thursday, May 20, 2010

Tale of Two Ottomans...Before & After


 Several months ago I had the luck of picking up some used model home furnishings that were being sold. 
 I think I paid 10 or 15 dollars for both of the ottomans. That's a deal! 
They are practically brand new and it was NOT a terrible experience tearing off the old fabric and finding tons of cooties. :)  I have some scary stories! 

 
Here's a view of underneath. 
 Look how they finished it off with hard backing and simple square feet. 

 
These guys are serious...heavy duty....burlapy tough ottomans.  Probably would be great in a cabin or with some western decor. 
 I wanted to feminize them a bit....:) 

The screws were stripped so I had to pry...then hammer them off.  I busted almost all of the legs, and did some damage to the frame. Oops!

 
I love taking things apart.....it always intrigues me how something was built.  Looking at this picture...I think these might be simple to build.  2x2's and hardboard would build the frame.  I think I see some ottomans in Nicole's future... :)

 
The foam was in good condition.

 
What do you think...easy to build? 


It looks like they used spray adhesive to attach thin foam on all four sides. 

 
With all of my previous projects, I usually pick apart the upholstery and make a paper pattern or pin right to the new fabric and cut.  I didn't like the look of the new fabric with the old look...it was a little sloppy.


So, I pinned and fitted it like you would a slip cover, then pulled it off to sew. 

 
The corners are always a pain in my side....I would like to take an upholstery class just to learn how to ease corners!  The crinkles always sneak in- darn it!
I sewed all the sides together, had to unpick a few times and finally got the look I was going for. 

 
Since I ruined all the feet taking it apart, 
 I chopped up a pine board and spray painted the new feet brown.

 
I usually prefer staples, but noticed the original upholsterers used small tack nails.  I had some cut tacks in my tool box and thought I would give it a try. 
They were great!  Power staplers are still easier but this was fun to try something different.  Nails were used to put the hardboard back on and they worked like a charm . 
I put the feet back on using long screws and they sat super straight because of the hardboard on the bottom. 
From past experience the feet were always crooked because of the layers of fabric and stapling. 
Smart idea to use hardboard!

 
Here they are!

Let's take a peek again at the before.....


 I couldn't catch a good picture of the fabric inside- it's kind of a gloomy day.
I found the fabric at Hobby Lobby and used a 40% off coupon.  Finding fabric I really liked was difficult, this choice came close to having all the colors I wanted. It took a little over two yards and I think I have enough left over to make a few pillows.

  
Here's  a clearer picture outside, I love the combination of the colors in the fabric.
 There's a mix of cream, brown, green and bits of turquoise. 

 
And... here are two feet and two great reasons 
why I'm heading out to purchase one large can of Scotch Guard! :)


Sharing with these great parties~


Furniture Feature Fridays


Funky Junk's Saturday Nite Special
Join us Saturdays at tatertotsandjello.com for the weekend wrap up party! 
 
And, Tools are For Women Too!

Monday, May 17, 2010

Wanna Vote?


We're not actually on our knees begging,
(not yet anyway)
but yes, here's our shameless plea to get everyone
to head over to one of these wonderful blogs
and make sure to vote!
(preferrably for a certain patina birdhouse...hint...hint...hint....)

UndertheTableandDreaming 


Visit tatertotsandjello.com

504 Main
There were lots of great projects and we felt totally honored
to make it to the
top 10!
We've got some great projects lined up
that desperately need some
 Gorilla Glue!
So head over, the voting ends Friday!
Thank ya very much!!!

Saturday, May 15, 2010

Hello Pawn Shop!

I've heard stories of wives falling in love with their husband's all over again
when he bought her new jewelery
or flowers and a love note.
I'm a bit different.
Nothing says "love" more than seeing him
take the trash out.....
without me reminding him.
Or in this case, all that's needed is a trip to the Pawn Shop.
Remember how I told you guys to not be scared to go into them?
Well this week during my crazy efforts to fill orders as fast as I could
I killed my little jig saw.
Unfortunately I cannot live (or should I saw work) without this baby.
So in my Hubby's fix-it-hat style he swooped me up and we headed out
for our adventures in Pawn Shops.
3 stores later and with some smooth talking which he happens to be very good at....
I now have this "new baby".
Oooooh, I got it for a 1/4 of the normal price.
It has a laser light, a normal light, it twists, it turns.
I love it!
So Rest In Peace Skil Saw, you've officially been replaced!
Plus here's a super great tip we learned
quite by mistake!
If you happen to be a sloppy spray painter....
(meaning you spray yourself more than  your desired item like me!)
instead of having to wear your paint for the next few days
you can easily remove it with alcohol!
Here's my before and after with only 2 minutes of rubbing it off with a sponge.
Not bad huh?
Feels a lot nicer than the green scratchy pad from the kitchen!
Hope you guys are loving Springtime as much as we are!

Tuesday, May 11, 2010

Clay Pot Topiary


is celebrating 2000 followers with food, presents, and parties!

  Today she is having a
 "CLAY POT"
 What would you do with a simple terracotta pot?
The challenge had our wheels turning. 

Nicole and I picked up some
 CelluClay.
 This is neat stuff.
It's instant papier mache.
Just add water!
It adheres "I think" to almost anything. 
We thought we would adhere it to some pots!

Just add water until you have it at the consistency that your prefer, then wipe it on the surface.
I used my fingers....and I enjoyed it! :)
There's something about getting your hands all dirty and creating stuff....it makes me happy!
We let it sit overnight. 
CelluClay is sandable and paintable after it's dry.


Before we spray painted the pots,
 I gave it a quick sanding to flatten the big chunks.
We glazed with brown and sanded lightly after drying.
I wouldn't be surprised if I start Celluclaying
 anything
I can get my hands on, it's so fun to work with.


We were inspired by Restoration Hardware's topiaries with twiggy bases.
 We gathered thin branches from a tree, braided three together and bound the ends with floral tape.
We set them in floral foam covered with moss.


I picked up some "pre-made" boxwood balls. 
Real Deals, the cheap decor store we love,
sells the little balls for just over 2.00 and the large ball for about 6.00.
  That's a deal, and I don't even have to struggle making them! :)


The large ball was set into the large pot.


The two small balls were perched upon our homemade sticks.

We had a lot of fun making these!
Thanks Donna for the challenge of using simple pots.
Head on over to the party to check out the other cute ideas using pots!


Sunday, May 9, 2010

Mother Dear....


I couldn't let this Mother's Day pass without
giving Tribute to our Most Wonderful Amazing Mother.
(Here she is inspecting my daughter when she was born.)
When I describe my Mother, I tell people she looks just like Mrs. Claus!
White hair, Rosy cheeks, a soft voice and always a smile on her face.
She's gorgeous inside and out.
I love that she loves everything and anything pink.
I love watching her with my daughter and the kindness she exudes and teaches.
I love how she lives what she believes
and I love that she believes in me.
I think she checks our little blog every day to see what us silly girls are up to,
even though we all live about 4 miles away from each other.
She always tells us that everything is even more beautiful in person.
I love that she loves beautiful things and growing beautiful flowers.
My Mother is a Woman of Faith, of Courage, of Selfless Love.
If you ask my husband what her biggest flaw is,
it's that she's too nice.
I wish I had a flaw like that.
She is an AMAZING cook!
(yup she made all those pies, 26 double crust pies total to feed some hungry missionaries!)
She is a gifted seamstress with a perfectionist's touch.
She made my wedding dress, my maternity dress and the blessing gown for my daughter
and now I somehow convince her to mingle in the arts of Halloween costume making....
She is always seeking knowledge, reading and filling her mind with good things.
I don't know what I did to deserve such a wonderful Mom!
I can only hope to someday become the kind of woman that she is
or to have my child love me even half as much as I know she is loved
and Adored.
Mother, I love you, I love you I do!

Related Posts Plugin for WordPress, Blogger...